Choosing a loading arm is not a catalog exercise. It’s a design decision that affects safety, throughput, and how hard your operators have to work every shift. SafeRack helps customers get this right by looking at the entire loading rack, not just the arm.
Start with the Site, Not the Arm
Every terminal, refinery, or chemical plant is laid out a little differently, and that layout dictates what will actually work at the rack. Before you pick a loading arm, you need to answer a few basic questions:
- How many loading positions are there today, and how many do you expect in the future?
- Where can risers be located so arms don’t clash or block each other during operation?
- What structures, power lines, pipe racks, gangways, and safety cages must the arm reach around or under?
- Is the structure stiff enough and sized correctly to support arm weight and keep operation ergonomic for drivers and operators?
SafeRack designs loading platforms, gangways and safety cages around these constraints so the entire system works as one.
Match the Arm to the Product
The next critical variable is what you’re moving. Different liquids demand different arm designs and materials.
- Define the full product list: water-like liquids, heavy products, hazardous, corrosive, or temperature-sensitive media.
- Size the arm and piping for required flow rates and cycle times so you can hit your throughput targets without choking the system.
- Choose metallurgy, seals, and swivel technology that are compatible with the product and any cleaning or flush fluids.
- Decide if you need heat tracing, insulation, or steam jackets for products that thicken, crystallize, or freeze with ambient temperature swings.
This is where SafeRack’s design and integration support helps avoid expensive rework by getting the specs right before equipment is ordered.
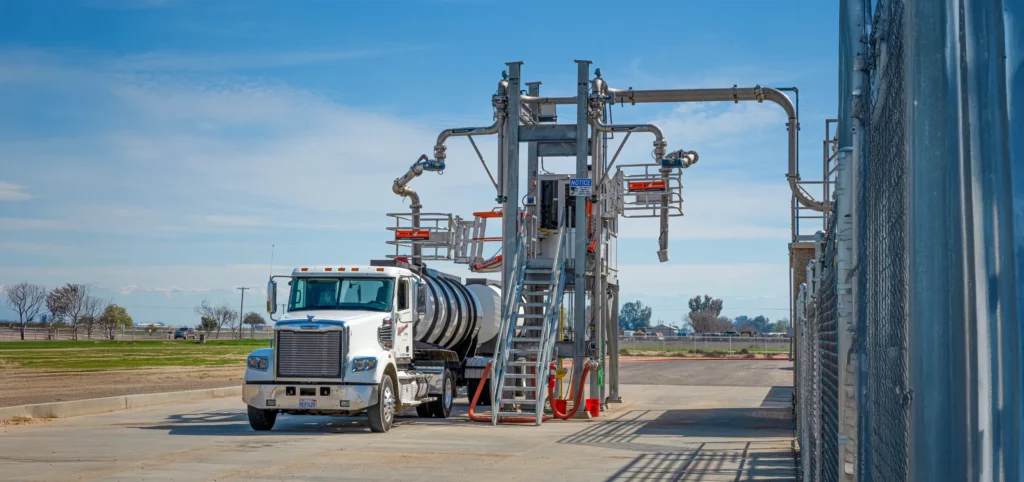
Design Around Transport and Loading Method
Whether you’re top-loading or bottom-loading, truck or rail, the transport dictates the connection style, clearances, and how the operator actually does the job.
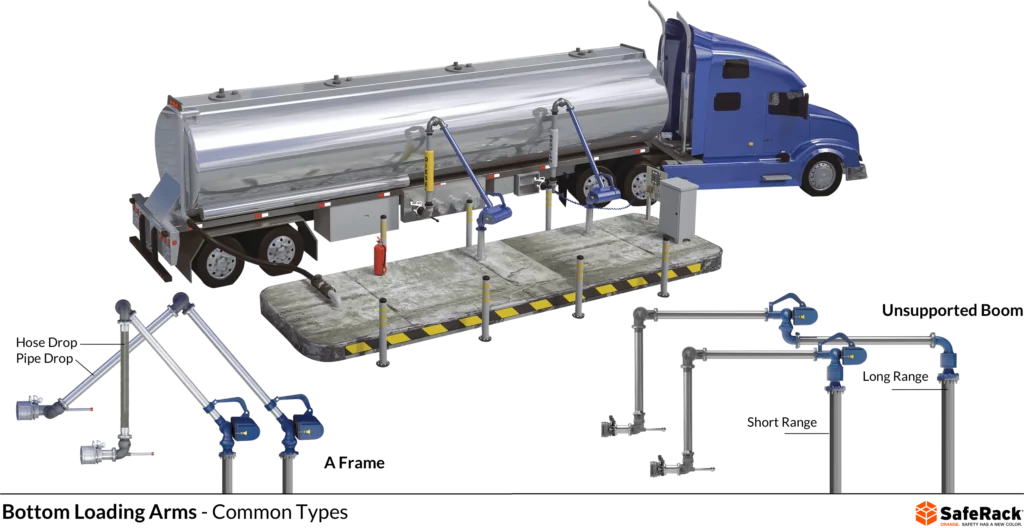
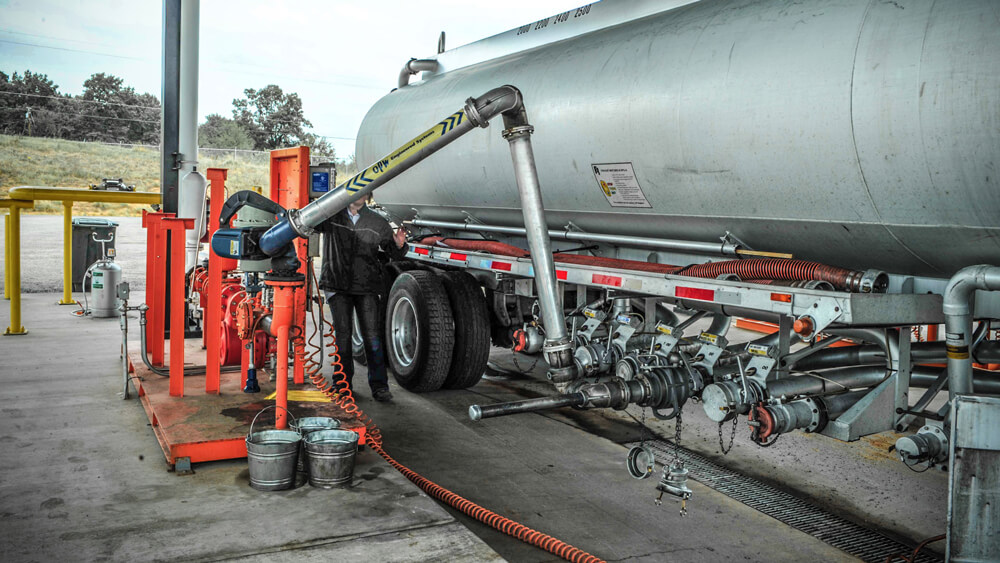
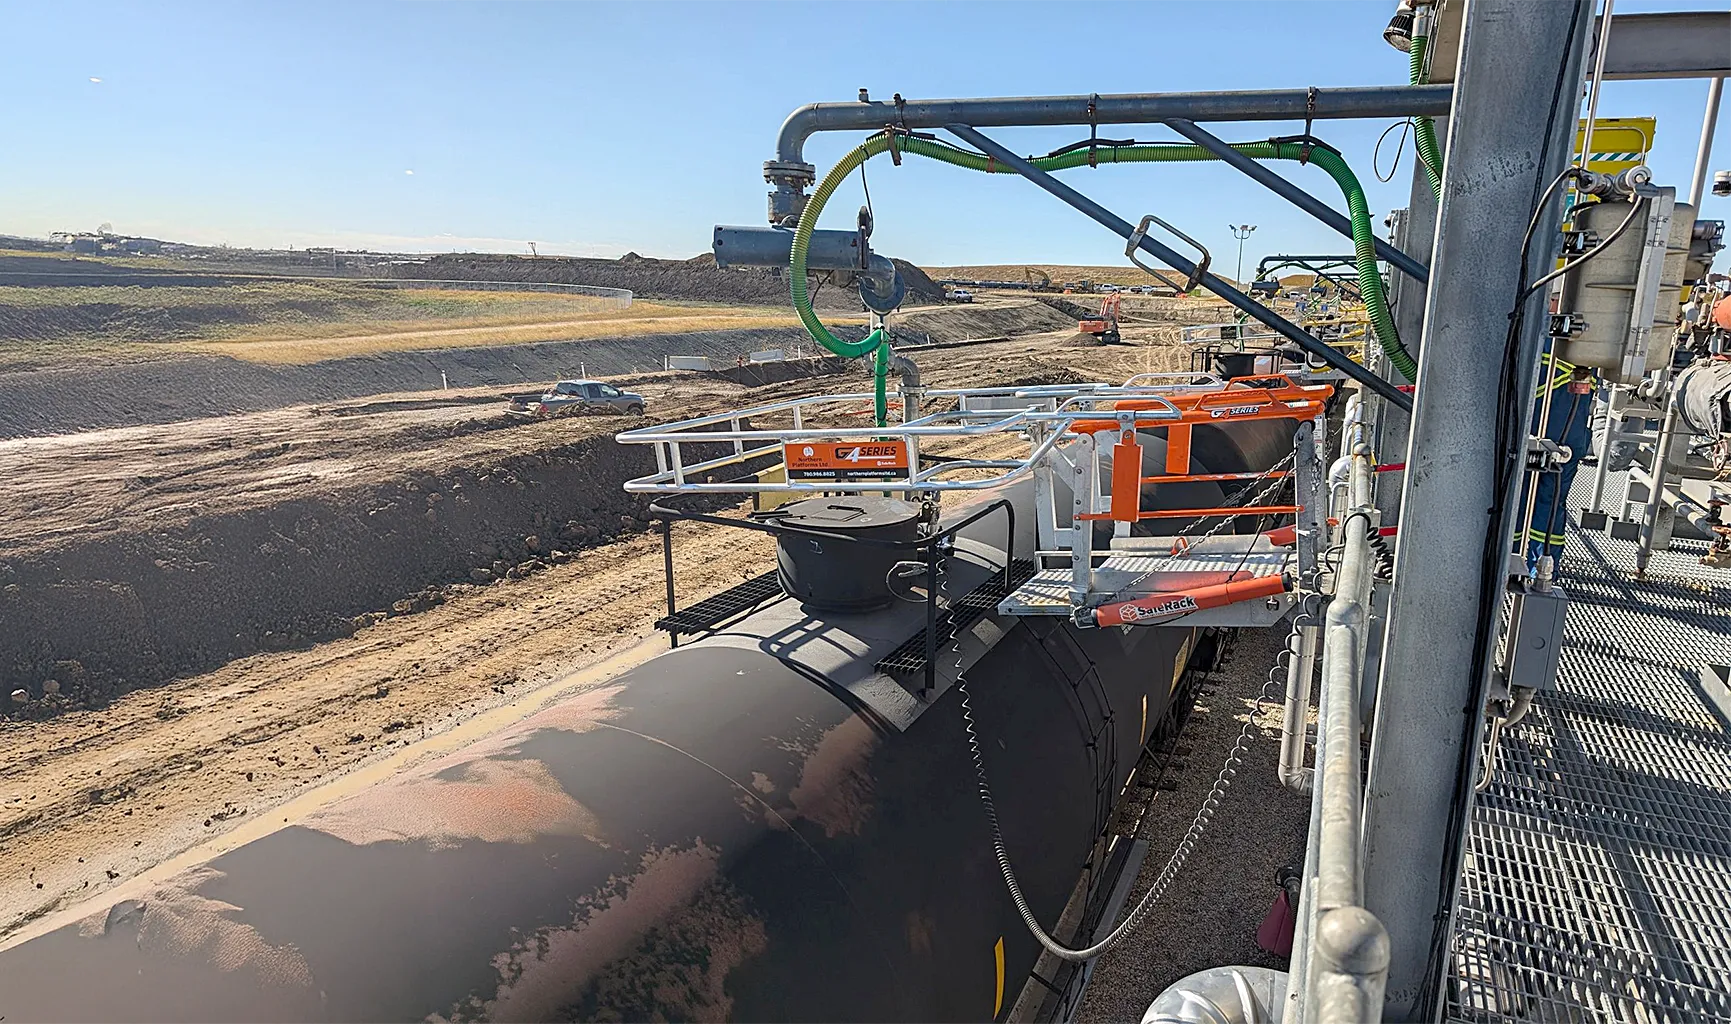
Bottom loading:
- Confirm fleet standards, API connection details, and compartment layouts.
- Use arms and couplers that allow quick, repeatable connections and simultaneous loading of multiple compartments to reduce truck time at the rack.
- Take advantage of the fact that bottom-loading bays typically require less equipment and concrete, which can lower installed cost.
Top loading:
- Make sure the arm has enough horizontal reach to hit the farthest compartment without respotting the vehicle.
- Decide between splash loading through an open manway or a sealed hard connection.
- If you use hard connections, select the right combination of hard or soft connections, quick- or dry-disconnect technology, and any required valving.
In both cases, integrating overfill protection and level detection as a secondary shutoff is key to preventing spills and protecting the environment.
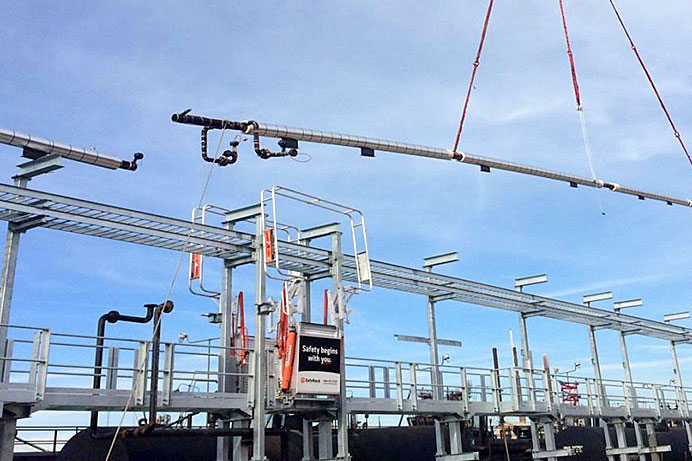
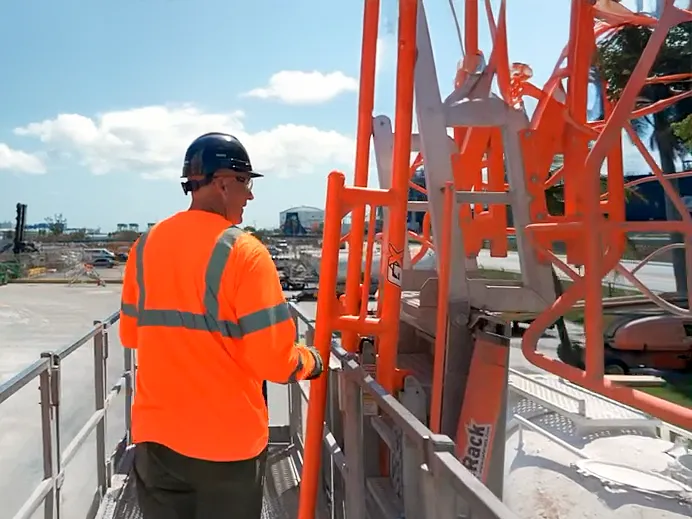
Build in Ergonomics and Safety
Poor spacing, heavy arms, and awkward connection points slow the rack down and wear out operators. Good design makes the work easier and safer:
- Use arm geometry and counterbalance so operators can move and store the arm with minimal effort.
- Set storage positions to line up with truck or railcar adaptors, reducing bending, reaching, and awkward postures.
- Integrate arms with SafeRack gangways, and safety cages so operators stay inside protected zones and don’t improvise unsafe access.
SafeRack’s on-site evaluations are built around walking the job with your team and watching how work is actually done at the rack.
Don’t Forget Testing, Add‑Ons, and Lifecycle
A well-chosen loading arm also considers what happens after startup.
- Determine any required non-destructive testing, special welding procedures, or inspection intervals driven by your product and standards.
- Plan for insulation, heat tracing, or vent and blow‑down connections if you need to clear residual product at the end of a batch.
- Account for future accessories or instrumentation so the arm and support structure are sized for added weight from day one.
- Put a preventative maintenance plan in place to protect swivels, seals, and safety systems and reduce unplanned downtime.
Standardizing components and suppliers where possible makes spares and maintenance much easier to manage across multiple racks or sites.
Why Involve SafeRack Early
The best loading-arm systems don’t start with a part number, they start with a walkthrough. SafeRack’s approach is to:
- Perform on-site safety and loading rack assessments to identify risks, bottlenecks, and layout issues before equipment is specified.
- Use our configurator to turn those findings into same-day 3D concepts, layout drawings, and budgetary quotes.
- Integrate loading arms with platforms, SafeRack gangways, safety cages, SafeRack’s ErectaStep, grounding, and spill containment into a complete solution.
This combination of field experience and design support helps customers avoid “hodge‑podge” racks that are hard to operate and expensive to fix later.

Your Full-Service Partner for
Loading Arm Design & Compliance
– More Than Superior Products –